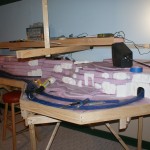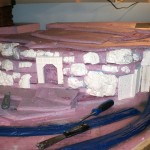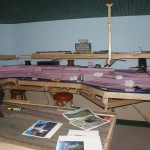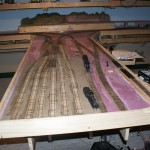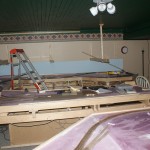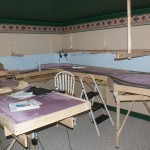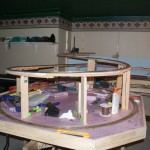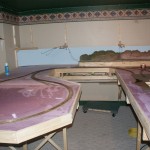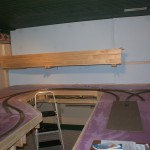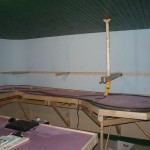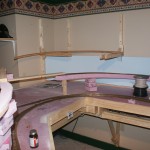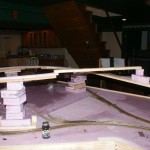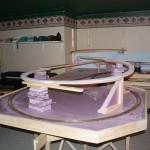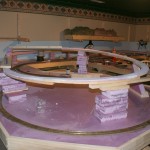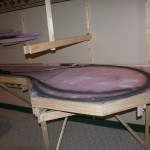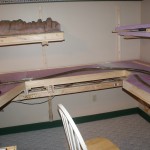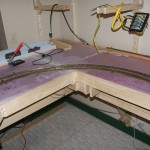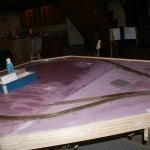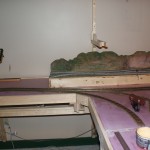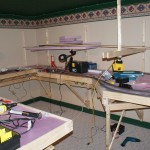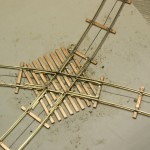
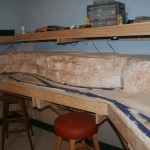
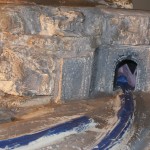
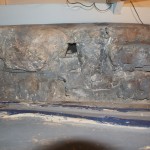
With the core foam and plaster rocks all in place I am making the final touches.
These show progressions of smoothing, shaping and painting.
After this I will add the water effects and then dirt, grass, shrubs and trees.
-
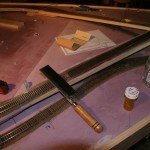
- Light Wash
-
- Gray for rock backing
-
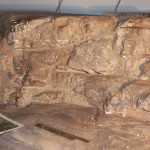
- Multi Color
-
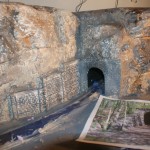
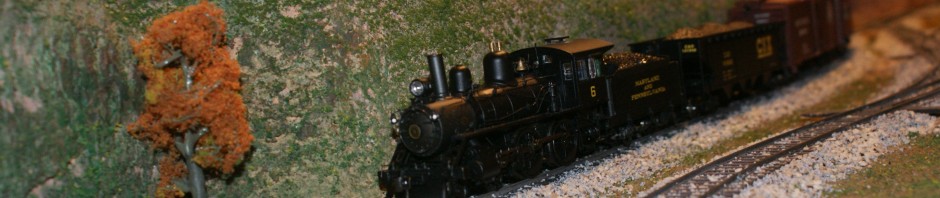
- Having a photo to eyeball helps
-
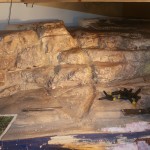
- More colors
-
- Cave